Managing your Notion links
How to manage your Notion links and edit the URL and password before sharing the link. Notions11 is totally free to use.

The most important reason why we recommend that you sign-up for a free Notions11 account, is that you can manage all your Notion11 links after you have created them. In this tutorial we will show you how to do it, and what the benefits are.
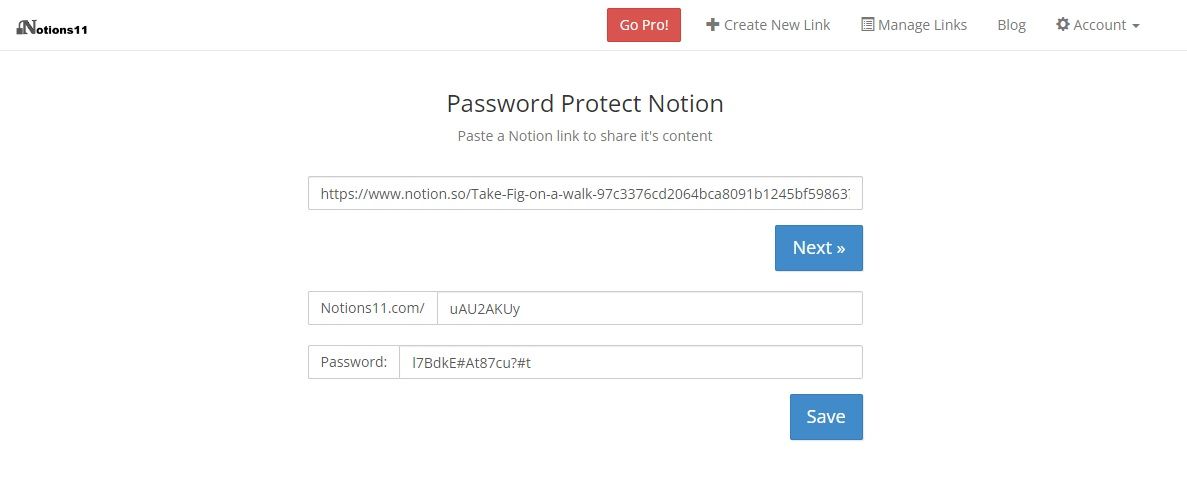
First step is to sign-up for a free account. This will only take a minute and then you are ready to go. In our blog "How to Share a Notion Link" we explained how you can share a Notion link without a registered Notions11 account, but once you have signed in you can see the Create New Link and the Manage Links button in the top menu. Let start by creating a new link. Click on the Create New Link button, paste your Notion link and click on Next.

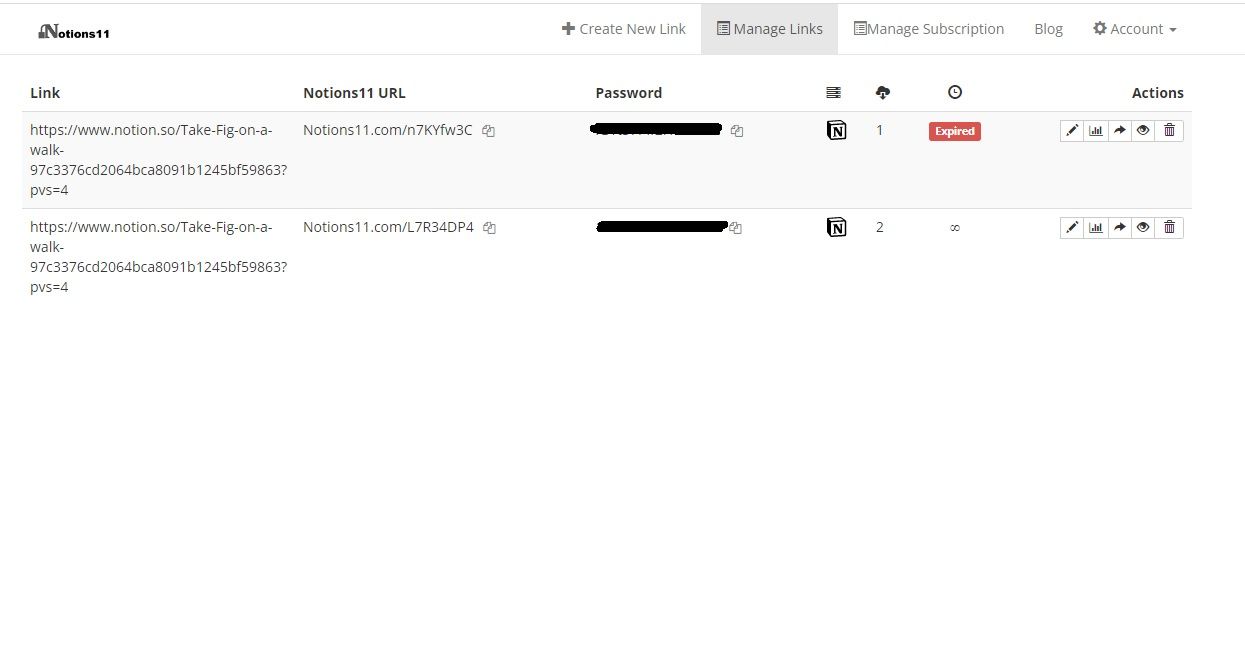
As you can see, you can edit the Notions11 URL and the password, or simply use the automatically generated ones. After you have saved the link, you will be able to edit it by clicking on Manage Links. Next to the password, you will see three icons. The first one shows you that it's a Notion link, and next to that you can see how often the link was accessed. The last icon shows that it's a permanent link, that is not set to expire. When you look at the action menu, you will see four options; Edit, Share, Preview and Delete.

If you click on Edit, you can alter the URL of your link, and also change the password. The Share button let's you share the link by email. By clicking on Preview, you will see the screen that a recipient sees when your link is opened. You can also test your password before sharing it.
Setting an expiration date on a link is a Pro feature, so if you want to stop sharing the link, you can click on the Delete button.
If you want to test all the Pro features, such as expiring links, access notifications, branding and analytics, you can upgrade to Notions 11 Pro and try the first 15 days for free.